Deploy on GCP
Prerequisites
- You can install OpenClarity using the CLI, so you have to have gcloud on your computer available beforehand. For details on installing and configuring gcloud, see the official installation guide.
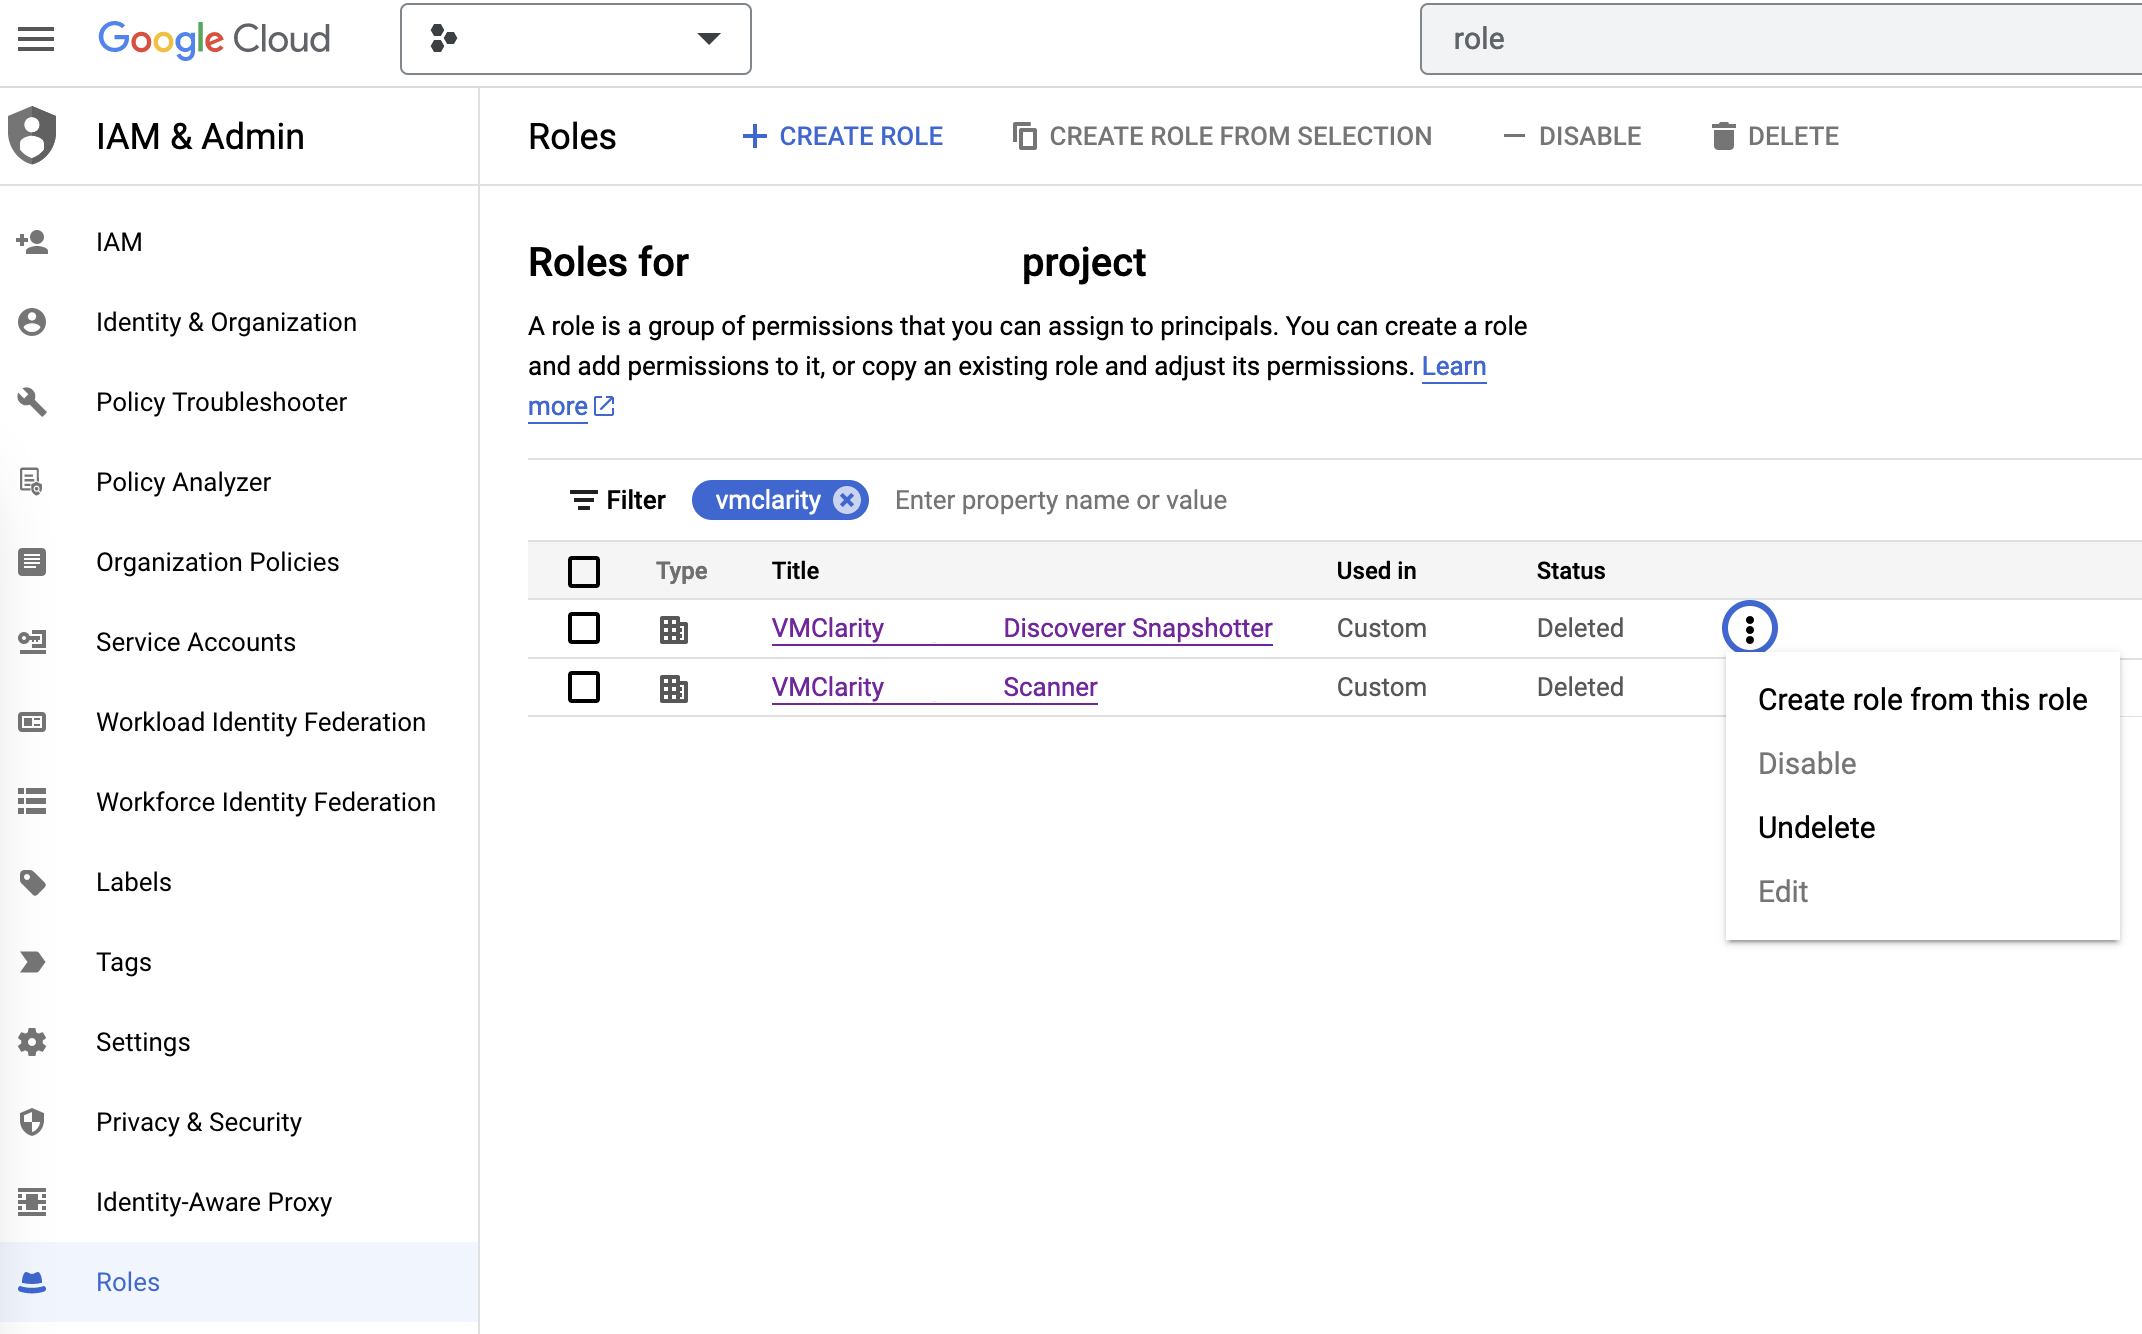
- If you have already installed OpenClarity before and want to reinstall it, you have to manually restore deleted roles that were created during the previous installation.
Deployment steps
To install OpenClarity on Google Cloud Platform (GCP), complete the following steps.
-
Download the newest GCP deployment release from GitHub and extract it to any location.
wget https://github.com/openclarity/openclarity/releases/download/v1.1.2/gcp-deployment-v1.1.2.tar.gz -
Create a new directory, extract the files and navigate to the directory.
mkdir gcp-deployment-v1.1.2 tar -xvzf gcp-deployment-v1.1.2.tar.gz -C gcp-deployment-v1.1.2 cd gcp-deployment-v1.1.2 -
Copy the example configuration file and rename it.
cp openclarity-config.example.yaml openclarity-config.yaml -
The following table contains all the fields that can be set in the
openclarity-config.yamlfile. You have to set at least the required ones.Field Required Default Description zoneyes The Zone to locate the OpenClarity server. machineTypeyes The machine type for the OpenClarity server. regionyes The region to locate OpenClarity. scannerMachineTypee2-standard-2Machine type to use for the Scanner instances. scannerSourceImageprojects/ubuntu-os-cloud/global/images/ubuntu-2204-jammy-v20230630Source image to use for the Scanner instances. databaseToUseSQLiteThe database that OpenClarity should use. apiserverContainerImageghcr.io/openclarity/openclarity-apiserver:1.1.2The container image to use for the apiserver. orchestratorContainerImageghcr.io/openclarity/openclarity-orchestrator:1.1.2The container image to use for the orchestrator. uiContainerImageghcr.io/openclarity/openclarity-ui:1.1.2The container image to use for the ui. uibackendContainerImageghcr.io/openclarity/openclarity-ui-backend:1.1.2The container image to use for the uibackend. scannerContainerImageghcr.io/openclarity/openclarity-cli:1.1.2The container image to use for the scanner. exploitDBServerContainerImageghcr.io/openclarity/exploit-db-server:v0.2.4The container image to use for the exploit db server. trivyServerContainerImagedocker.io/aquasec/trivy:0.41.0The container image to use for the trivy server. grypeServerContainerImageghcr.io/openclarity/grype-server:v0.7.0The container image to use for the grype server. freshclamMirrorContainerImageghcr.io/openclarity/freshclam-mirror:v0.2.0The container image to use for the fresh clam mirror server. postgresqlContainerImagedocker.io/bitnami/postgresql:12.14.0-debian-11-r28The container image to use for the postgresql server. assetScanDeletePolicyAlwaysWhen asset scans should be cleaned up after scanning. postgresDBPasswordPostgres DB password. Only required if DatabaseToUse is Postgresql. externalDBNameDB to use in the external DB. Only required if DatabaseToUse is External. externalDBUsernameUsername for the external DB. Only required if the DatabaseToUse is External. externalDBPasswordPassword for the external DB. Only required if the DatabaseToUse is External. externalDBHostHostname or IP for the external DB. Only required if the DatabaseToUse is External. externalDBPortPort for the external DB. Only required if the DatabaseToUse is External. -
Deploy OpenClarity using gcloud deployment-manager.
gcloud deployment-manager deployments create <openclarity deployment name> --config openclarity-config.yaml -
Open an SSH tunnel to the OpenClarity server with gcloud. For further information on how to create an SSH connection with gcloud to one of your instances check the official page.
gcloud compute ssh --project=<project id> --zone=<zone name> <name of your VM> -- -NL 8080:localhost:80 -
Access the OpenClarity UI.
-
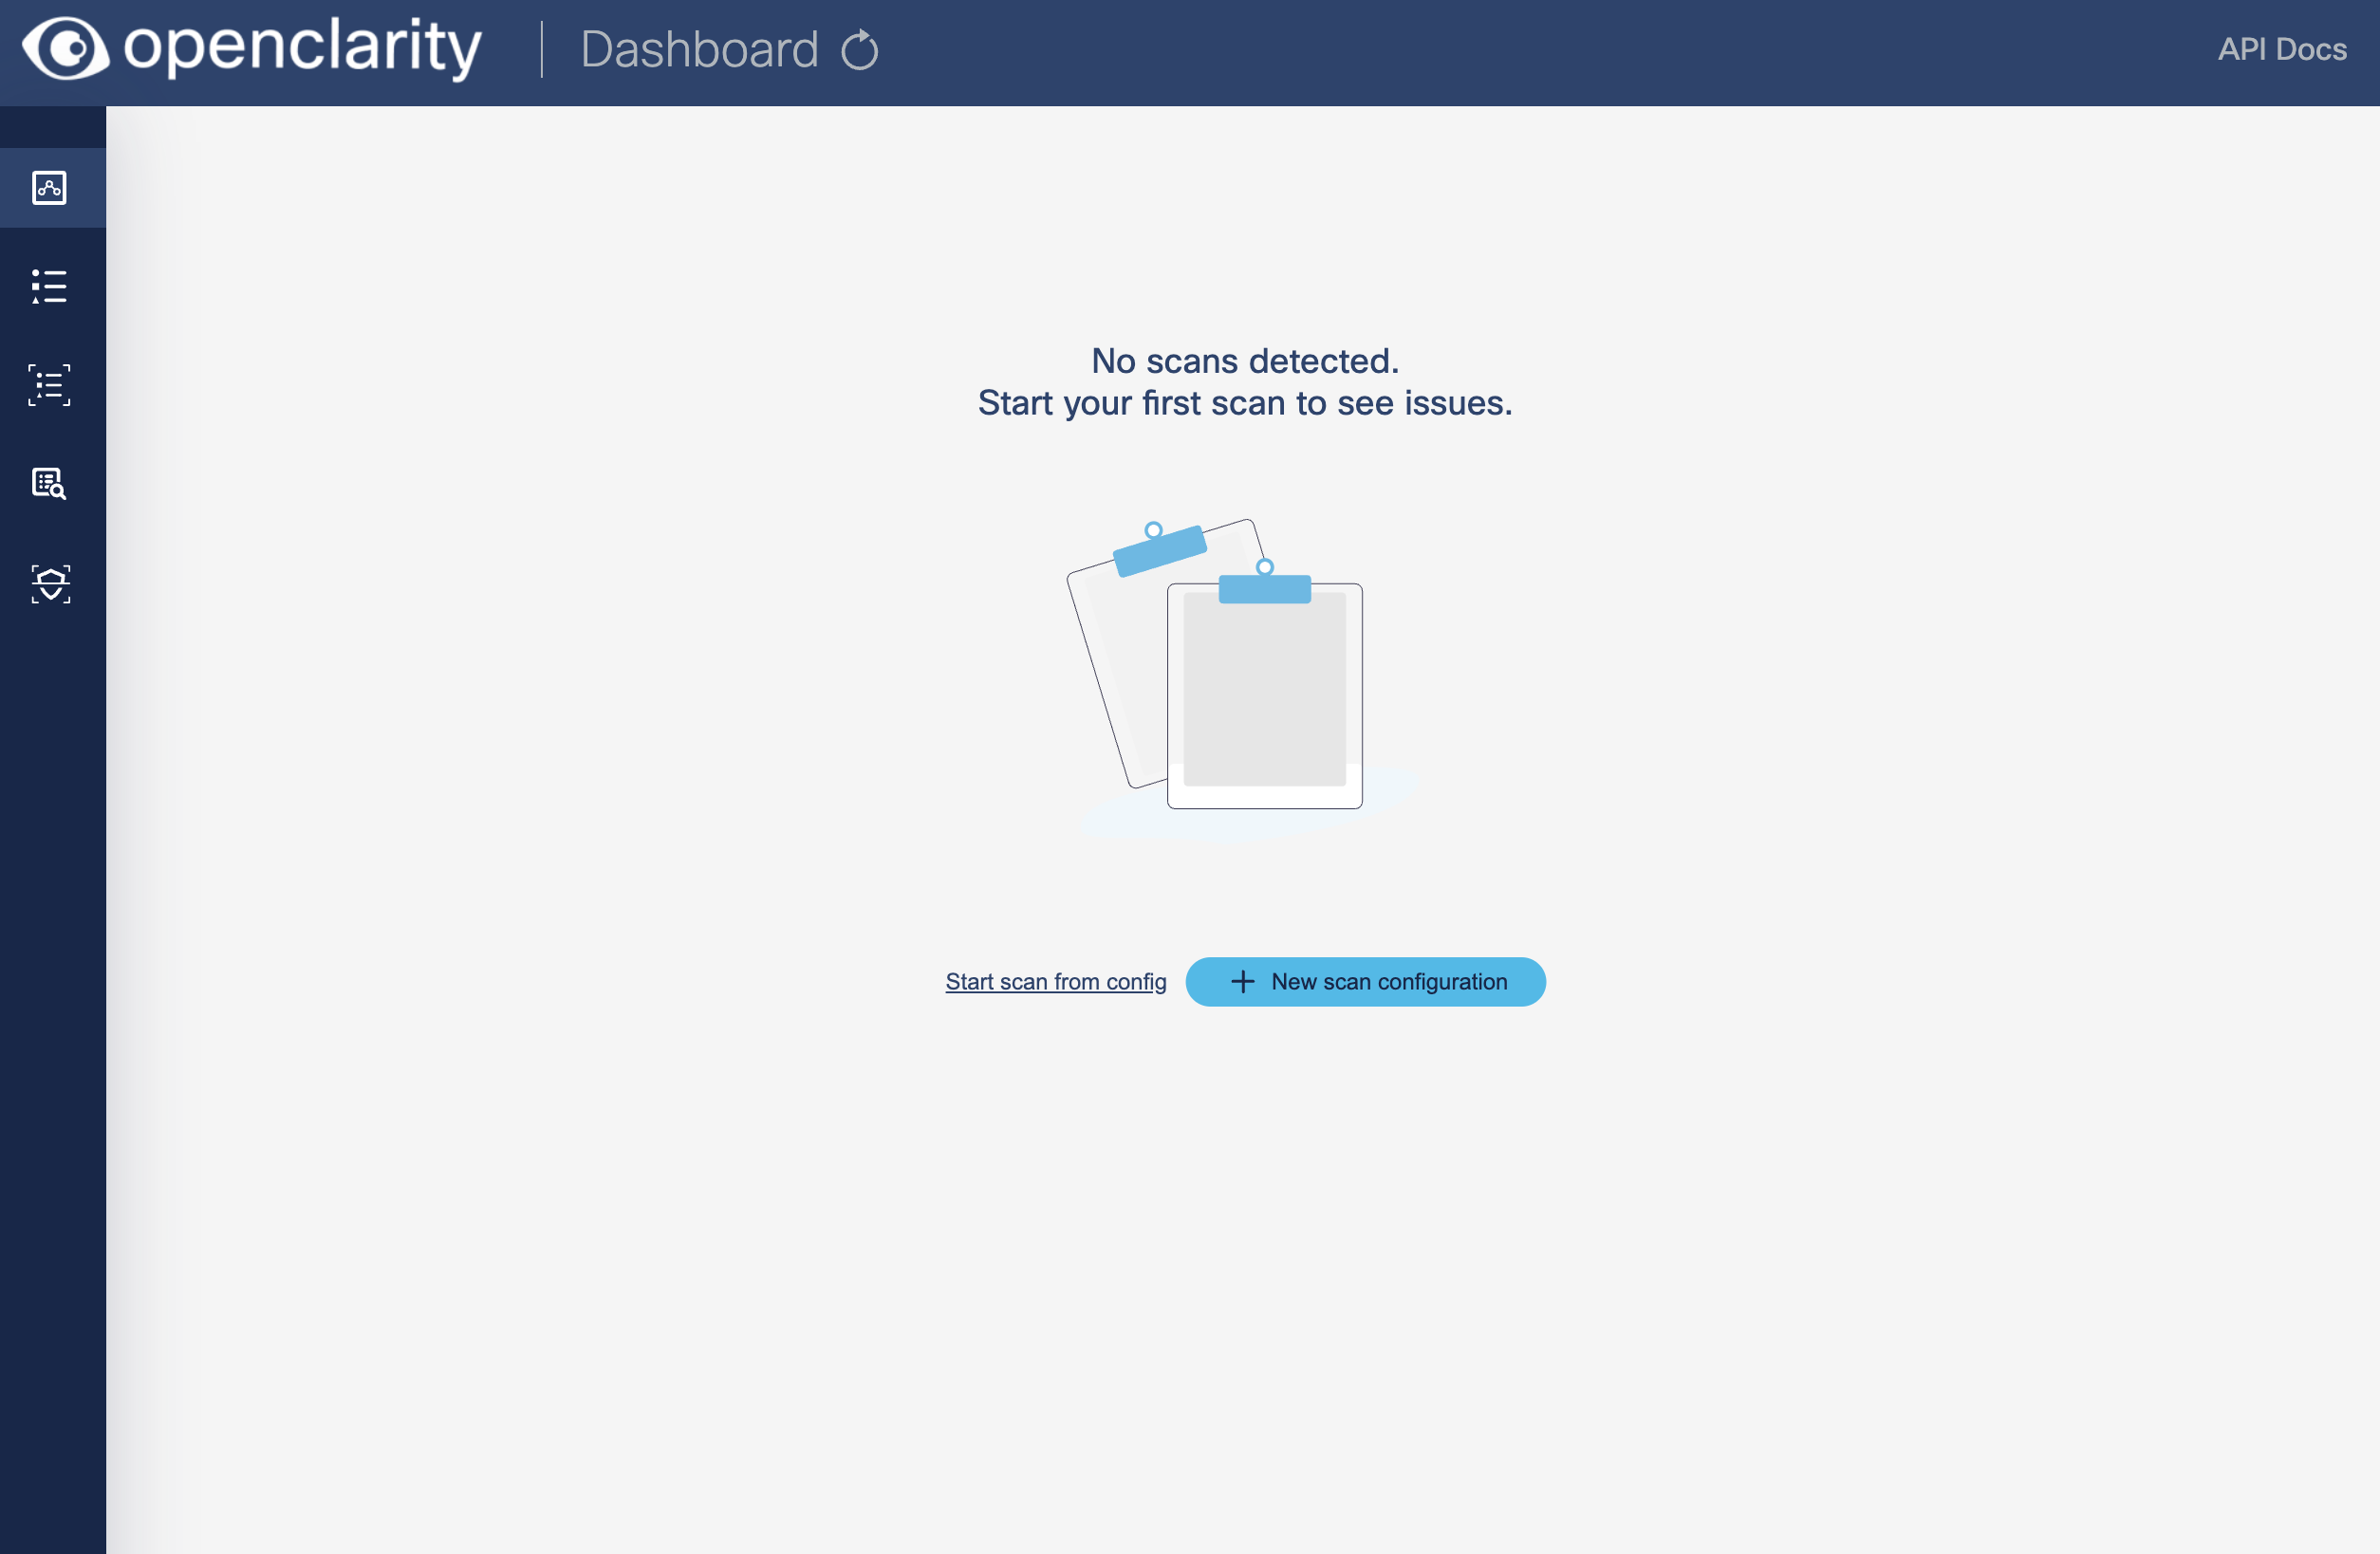
Open the OpenClarity UI in your browser at http://localhost:8080/. The dashboard opens.
-
(Optional) If needed, you can access the API at http://localhost:8080/api. For details on the API, see the API reference.

-
Next steps
Complete the First Tasks on the UI.
Uninstall OpenClarity
-
You can uninstall OpenClarity using the gcloud manager.
gcloud deployment-manager deployments delete <openclarity deployment name>
Restore deleted roles
-
On the IAM & Admin page on GCP, open the Roles tab, then search for OpenClarity in the filter input.
-
Now manually undelete the Discoverer Snapshotter and Scanner roles to set their statuses from Deleted to Enabled.
