Deploy on AWS
An AWS CloudFormation template is provided for quick deployment of the VMClarity environment.
Note: To avoid extra costs (cross-region snapshots), you may want to deploy the VMClarity AWS CloudFormation template in the same region where the majority of the VMs are that you want to scan with VMClarity.
The following figure shows the basic AWS resources that the VMClarity CloudFormation template creates:
-
a VPC with a public and private subnet, and
-
an AWS Internet Gateway (IGW) and NAT Gateway (NGW) into the VPC.

The public subnet (VmClarityServerSubnet) hosts the VMClarity Server (VmClarityServer) EC2 instance. The VMClarity server houses the scanning configuration, the UI, and other control components. The EC2 instance is assigned an external IPv4 address (EIP) for SSH and web UI access.
The private subnet (VmClarityScannerSubnet) hosts the VM snapshot instances (EC2) that are scanned for security vulnerabilities.
Prerequisites
- Have an AWS account.
- Create an EC2 key pair.
Deployment steps
To deploy the VMClarity AWS CloudFormation Stack, you can:
- click this quick-create link to navigate directly to the AWS CloudFormation console and jump to the wizard instructions, or
- complete the following steps.
-
Download the latest VMClarity release.
wget https://github.com/openclarity/vmclarity/releases/download/v0.7.2/aws-cloudformation-v0.7.2.tar.gzAlternatively, copy the AWS CloudFormation template file from the project repository to deploy the latest development code and skip the next step.
-
Create a new directory and extract the files.
mkdir aws-cloudformation-v0.7.2 tar -xvzf aws-cloudformation-v0.7.2.tar.gz -C aws-cloudformation-v0.7.2 -
Log in to the AWS CloudFormation console and go to the AWS CloudFormation Stacks section, then select Create Stack > With New Resources (standard).
-
Check Template is ready and Upload a template file, then click Upload a template file/Choose file and upload the previously downloaded CFN template file.

-
In the VMClarity CloudFormation Stack wizard, set the following:
- Enter a name for the stack.
- Select the InstanceType (defaults to
t2.largefor the VMClarity Server, and the scanner VMs). - Specify the SSH key for the EC2 instance in the KeyName field. You will need this key to connect to VMClarity.
- Adjust SSHLocation according to your policies.
- Do not change AdvancedConfiguration, unless you are building from a custom registry.
- Click NEXT.
- (Optional) Add tags as needed for your environment. You can use the defaults unless you need to adjust for your own policies.
- Click NEXT, then scroll to the bottom of the screen, and check I acknowledge….
- Click SUBMIT.
-
Once the stack is deployed successfully, copy the VMClarity SSH address from the Outputs tab.

-
Open an SSH tunnel to VMClarity the server
ssh -N -L 8080:localhost:80 -i "<Path to the SSH key specified during install>" ubuntu@<VmClarity SSH Address copied during install> -
Access the VMClarity UI.
-
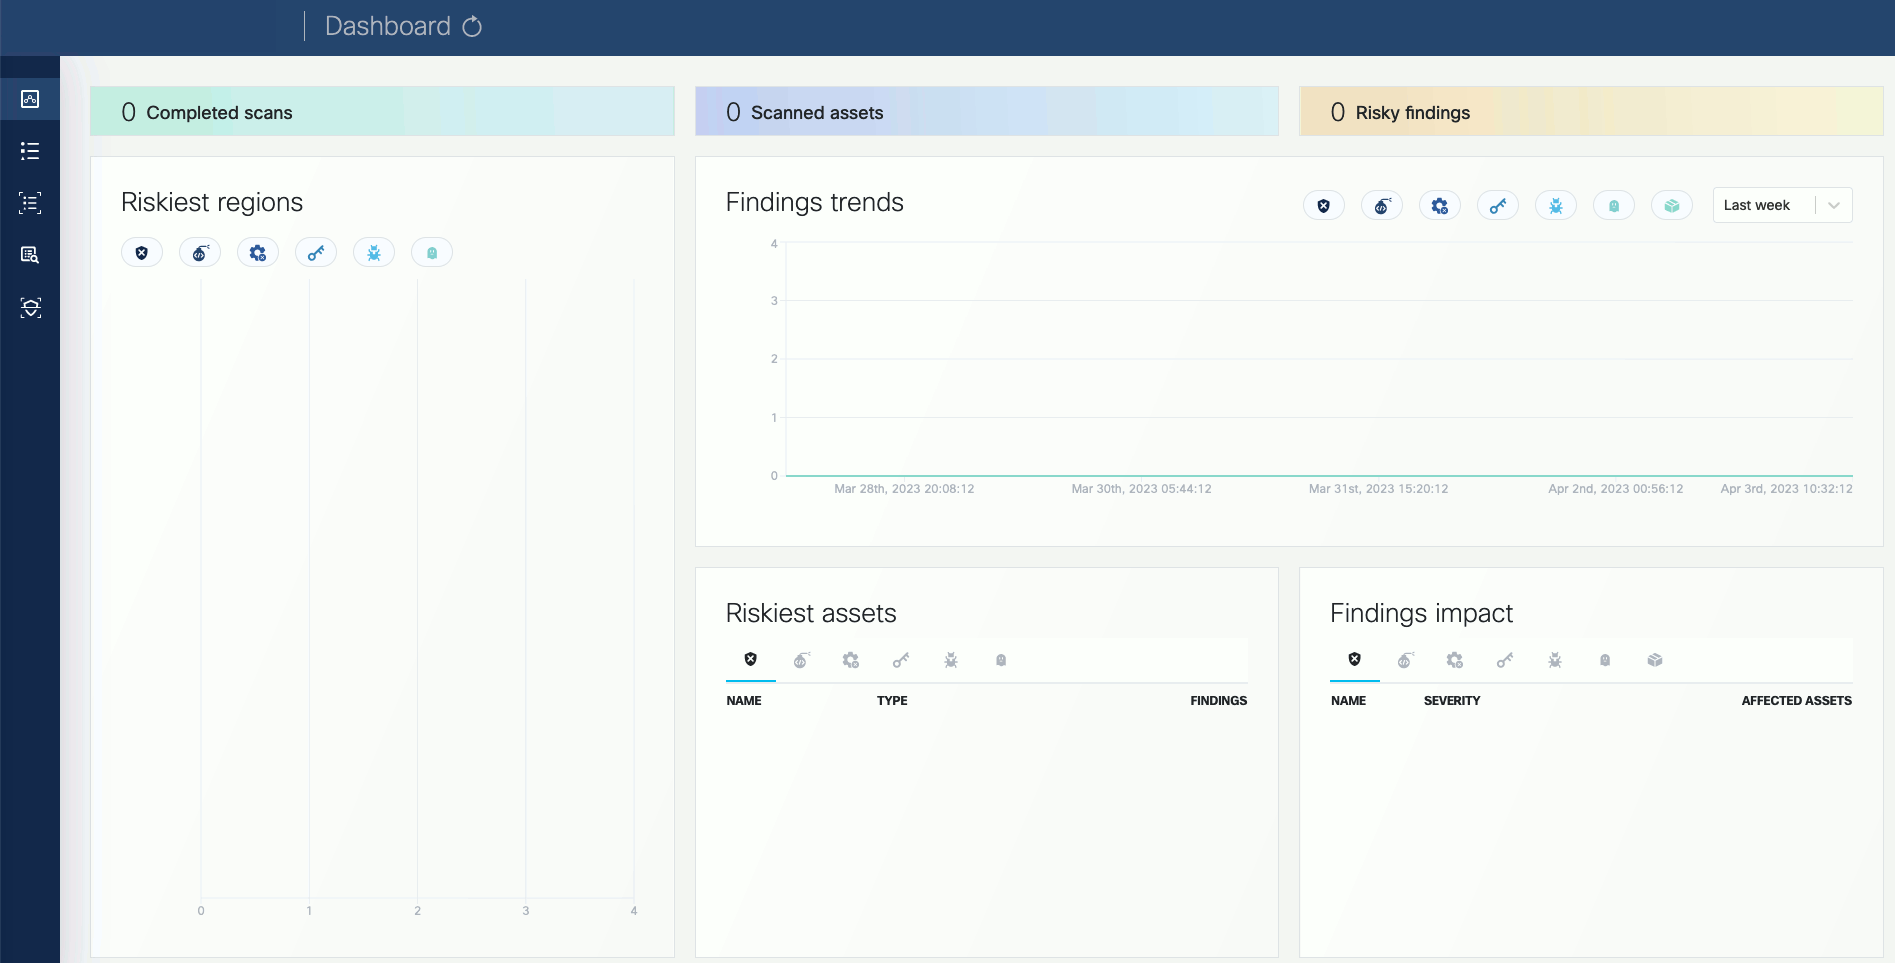
Open the VMClarity UI in your browser at http://localhost:8080/. The dashboard opens.
-
(Optional) If needed, you can access the API athttp://localhost:8080/api. For details on the API, see API reference.
-
Next steps
Complete the First tasks on the UI.