Deploy on Azure
Prerequisites
-
Have an Azure subscription.
-
Create an SSH public key for Linux. Please follow these instructions for Linux and Mac users or these for Windows users. Once you have an RSA private key, convert it to an SSH2 public key with:
ssh-keygen -e -f ~/.ssh/id_rsa.pub > ~/.ssh/id_rsa2.pub
Deployment steps
-
Click here to deploy VMClarity’s custom template.
-
Fill out the required Project details and Instance details in the Basics tab.

You can set the following parameters:
Parameter Required Description Subscription True Azure subscription where resources will be billed. Region False Azure region where resources will be deployed. VMClarity Deploy Postfix True Postfix for Azure resource group name (e.g. vmclarity-<postfix>).VMClarity Server SSH Username True SSH Username for the VMClarity Server Virtual Machine. VMClarity Server SSH Public Key True SSH Public Key for the VMClarity Server Virtual Machine. Paste the contents of ~/.ssh/id_rsa2.pubhere.VMClarity Server VM Size True The size of the VMClarity Server Virtual Machine. VMClarity Scanner VMs Size True The size of the VMClarity Scanner Virtual Machines. Security Type False Security Type of the VMClarity Server Virtual Machine, e.g. TrustedLaunch(default) orStandard. -
(Optional) In the Advanced tab, modify the Container Image for each service if a specific VMClarity version is required. Then, select the delete policy and the database.

Parameter Required Description Service Container Image True Docker Container Image to use for each service. Asset Scan Delete Policy True Delete Policy for resources created when performing an asset scan, e.g. Always,OnSuccessorNever.Database To Use True Database type to use, e.g. SQLite,PostgreSQLorExternal PostgreSQL. -
Click Review + create to create the deployment.
-
Once the deployment is completed successfully, copy the VMClarity SSH address from the Outputs tab.

-
Open an SSH tunnel to VMClarity the server
ssh -N -L 8080:localhost:80 -i "<Path to the SSH key specified during install>" ubuntu@<VmClarity SSH Address copied during install> -
Access the VMClarity UI.
-
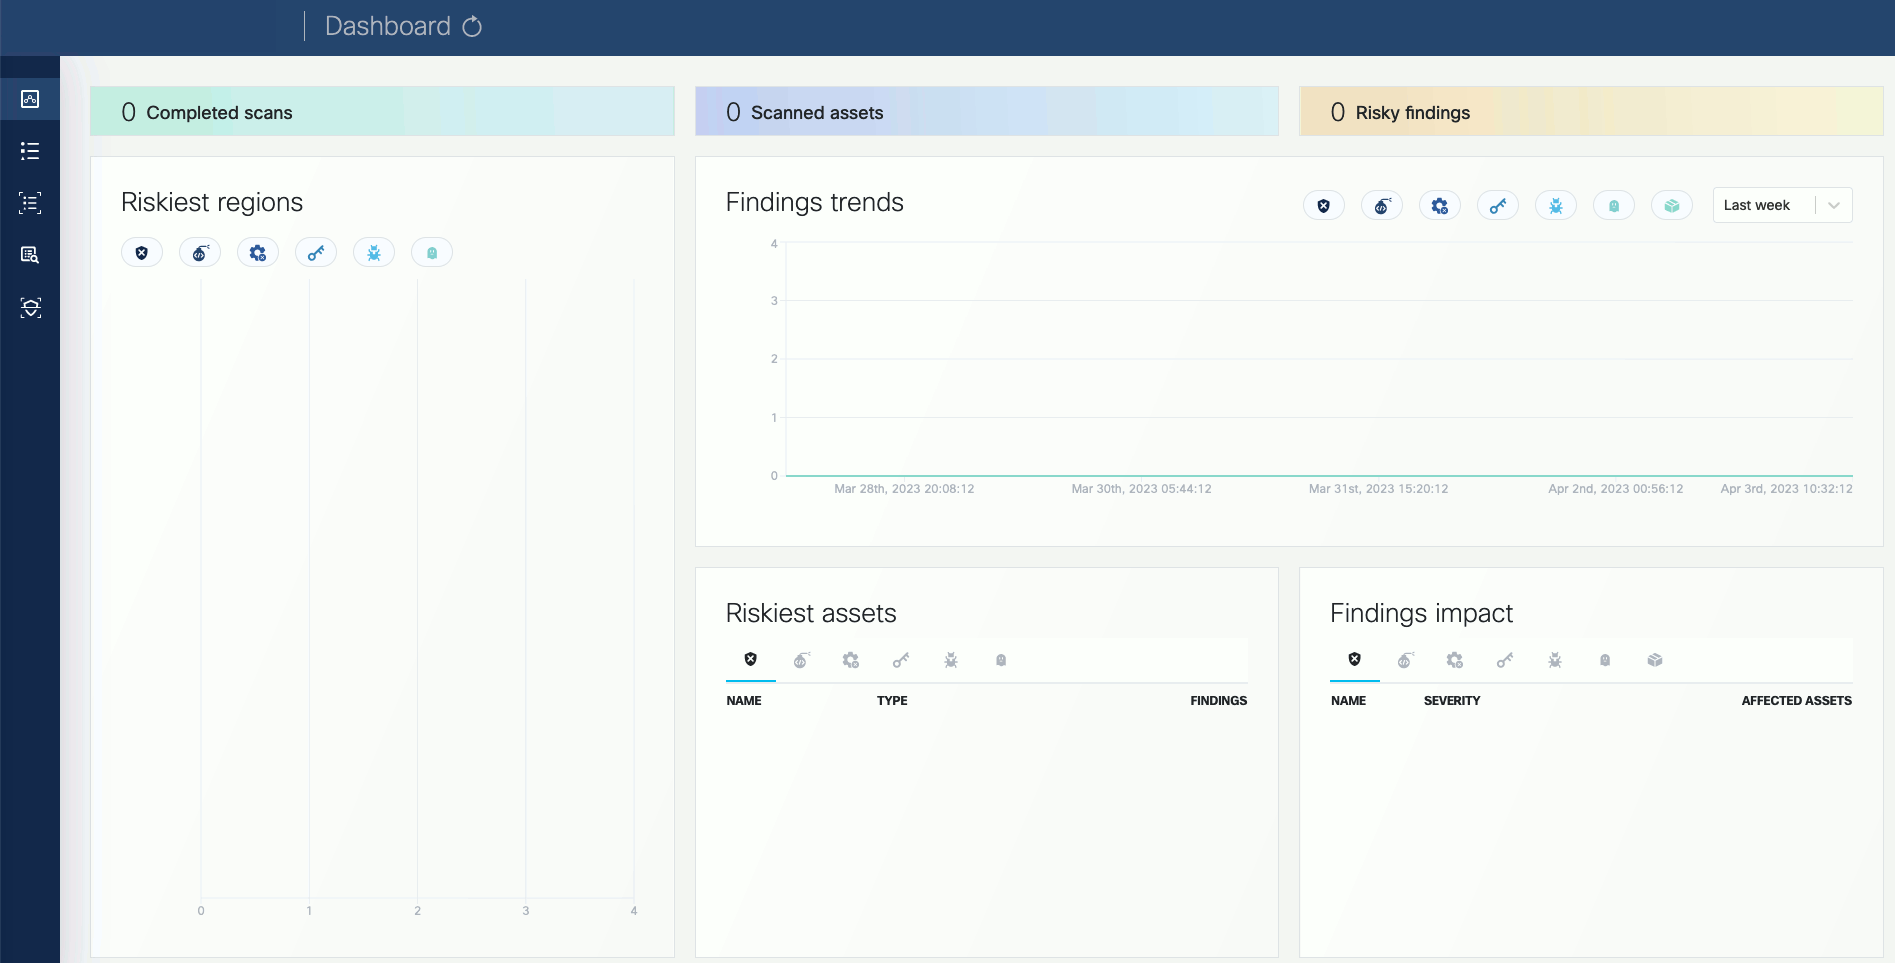
Open the VMClarity UI in your browser at http://localhost:8080/. The dashboard opens.
-
(Optional) If needed, you can access the API athttp://localhost:8080/api. For details on the API, see API reference.
-
Next steps
Complete the First tasks on the UI.